📞 Nicolai
How to Replace a Cracked Tile: A Step-by-Step Guide
Remove the grout that surrounds the tile
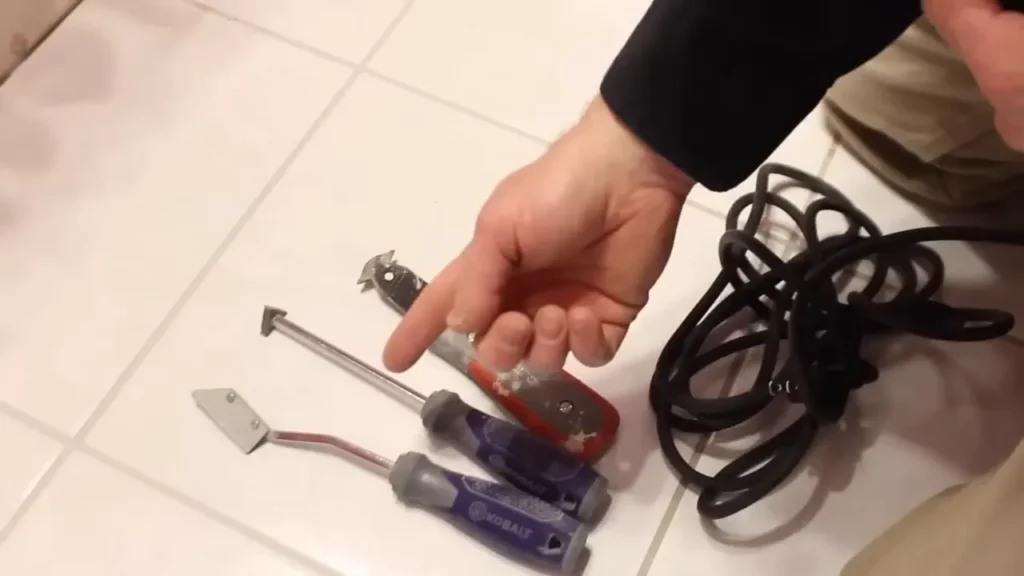
Before proceeding to the next step of getting out a cracked tile, you should take out the grout that is surrounding the tile. Eliminating this grout can be done using different implements. Some examples include manual grout saws and carbide tip knives. Nevertheless, among all these options, I prefer the oscillating multi-tool with a grout removal attachment. This is because it easily turns the hard work of the other tools into a simple task where the grout is crushed to powder. In case you lack one too, there is an alternative of employing the manual tools although they are slow. Necessary safety measures are important.
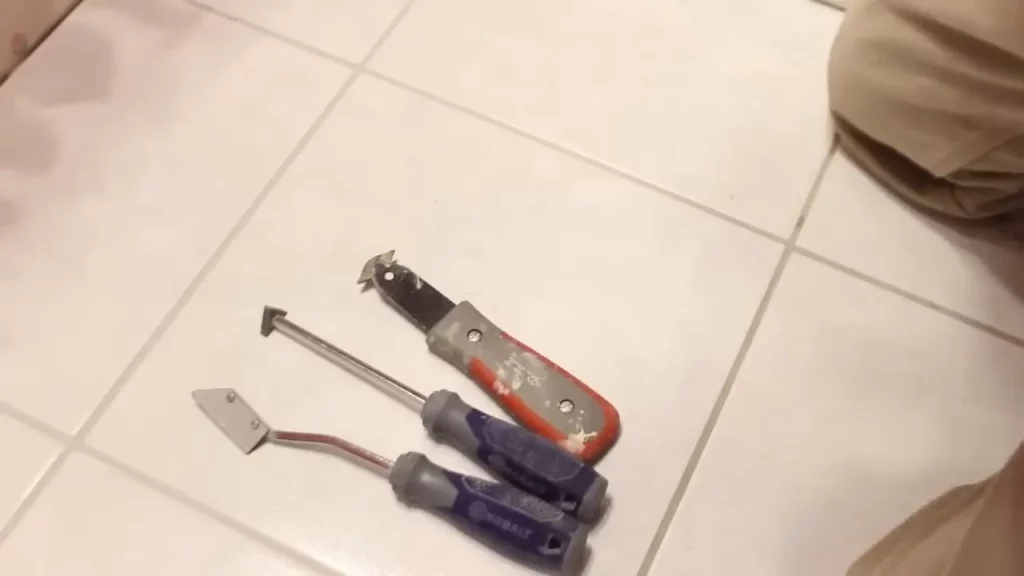
Safety Precautions
Before you start pulling out the tile, there are some safety measures that you cannot ignore. Guard your eyes using goggles or any other form of eye protection; put on gloves as well as a long sleeved shirt for protection against cuts that may result from flying pieces of glass. It is also important to have a dust mask for it will protect your lungs from dust. Finally, remember that the use of an oscillating multitool may require ear protection due to high noise level. Make some pilot holes right at the center of the tile.
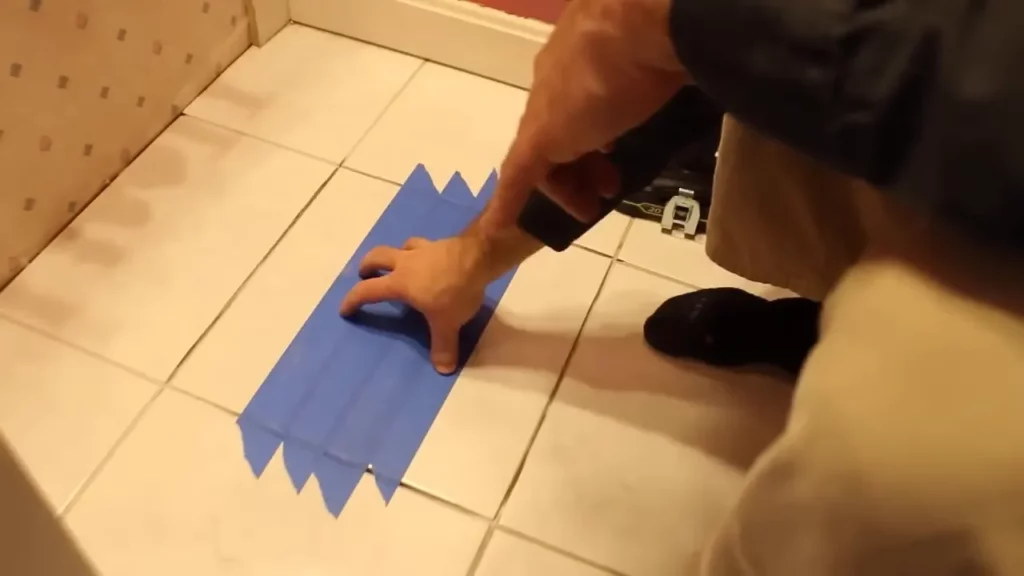
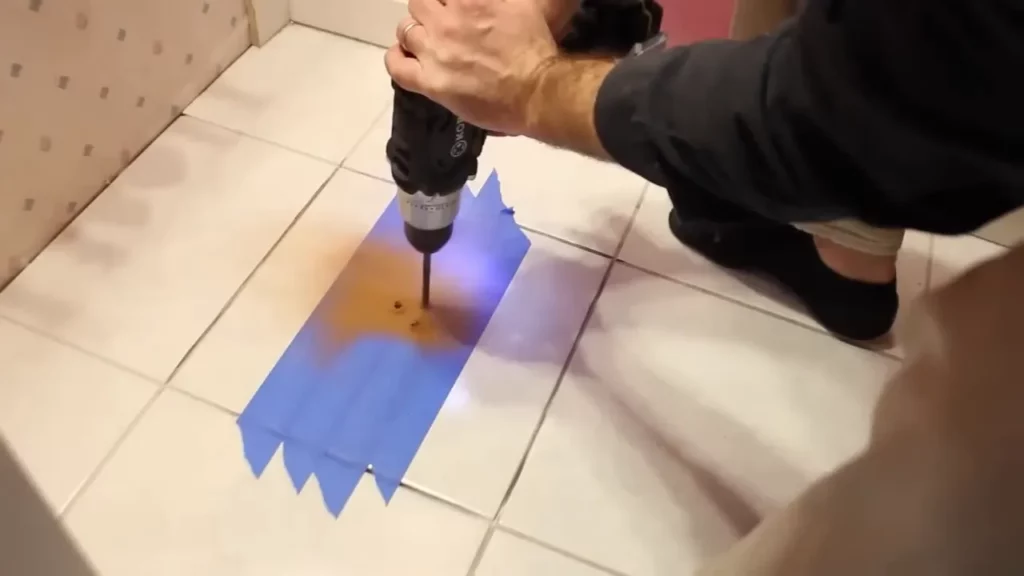
Drill pilot holes into the center of the tile
Afterwards, you will have to make a few starter holes at the middle of the chipped tile. The most appropriate drill bit to use for this is the ¼” carbide tipped type. For better grip, stick some blue painter’s tape on top of the tile around its center and proceed with your drilling. By engaging in this, you will be able to make the drill bit go through the glaze without any problem of slipping. Ensure that you make an approximate depth of about ¼” while drilling so that you can only pierce through the top layer of the tile with ease. Use a hammer and chisel to lift up the tile area.
Using hammer and chisel, pry up the tile
After drilling the pilot holes, use a chisel and hammer to lift the tiles. Begin by fitting a small chisel into the drilled holes and then proceed towards the outer edges using larger chisels. By engaging in this, you will avoid causing any harm to the adjacent tiles. While lifting, also check for any ridge marks on the top of mortar bed left by the thin-set: these would mean that you have reached a sufficient depth. Take out the former mortar.
Remove the old mortar
The next step involves getting rid of the old mortar from the substrate that remains after taking out the tiles. It is at this point that one has to be very careful because leaving the former intact will cause uneven placing of the new tiles. To take it off, you may use a hammer and chisel, or simply utilize the other end of the hammer for prying. Although this part is laborious, it is essential if the work is to be done correctly. After removing the old mortar, ensure that you dry-fit the new tile to check if it fits well. It should be ensured that the installed tile is a bit lower than the neighboring ones by using a level. This is crucial because application of thin-set mortar would lift the tile slightly so that it becomes even with other tiles. Place mortar under and also butter at the back of the tile
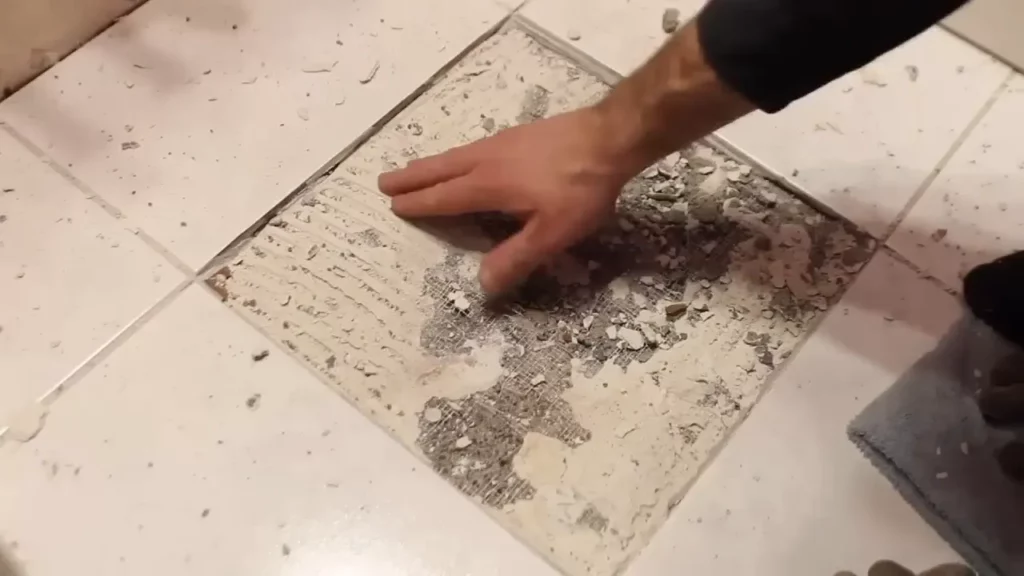
Dry-fit the new tile and use a level to check
The next step is to spread mortar on the base of the area where we will place the new tile. Thicken the mortar until it is like peanut butter then apply. Afterwards, use the margin trowel to pack any hollows and make the surface even. On top of that, remember to back-butter each tile with some mortar before you place it down and stick it on one said of the room. By engaging in this, you will be assured of a good linkage. Put the tile in place and clean any extra mortar at the grout areas
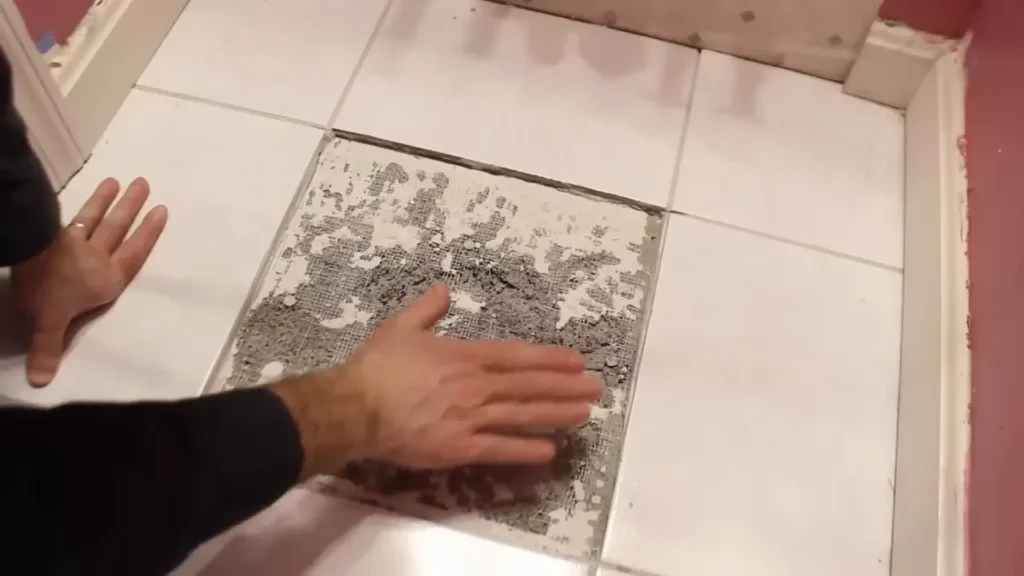
Apply mortar under the tile and back butter
Apply the mortar and position the new tile. After setting, take out immediately any extra mortar coming up on the grout joints, as it may prove difficult to clean after hardening. It would be helpful to use some small equipment or a screwdriver for this. Make sure that you have aligned all corners properly; in case of any problem, employ the services of spacers. Apply grout and spread into joints
The next step is to apply grout after the thin-set mortar has been given time to dry, probably 2-3 hours. The grout should be as thick as peanut butter to make sure that you have the right consistency. Put the grout on the tiles and push it into the joints using a rubber float. Be careful that the grout fills all spaces and if need be carry with you a piece of the old grout as reference for matching the color at the store. After the grout cures, make sure to clean up and apply some grout sealer.
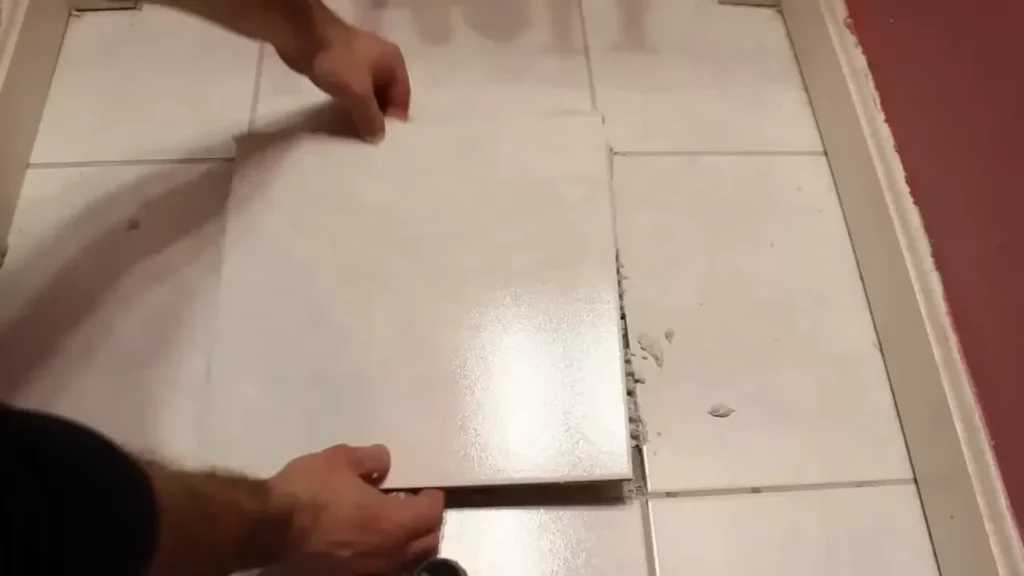
Add grout and spread into joints
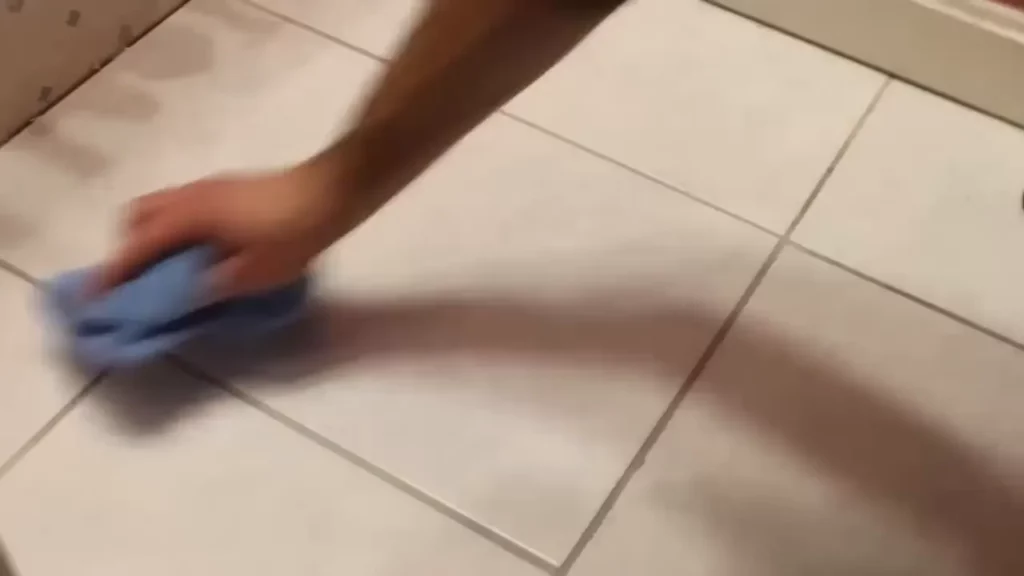
Once the grout has been allowed to sit for a while to dry as instructed, wipe any mist with a wet sponge off the tiles. It is important to ensure that all the grout is kept away from the tile surface; otherwise, it will be very difficult to have a smooth finish. Buff the tiles with a clean piece of microfiber cloth after one hour for a neat look. To finish up, on the newly done grout, apply a grout sealer that will protect it from moisture and stains. And that is all there is to replacing a broken tile. Wasn’t that hard, was it? This is a simple skill that can help you save money and feel good about yourself for engaging in it alone. If you have any queries drop them below. Enjoy your DIY.
Looking for professional tiling services in Sydney? For expert craftsmanship and reliable solutions, visit to learn more about our services and get in touch today
